Before I get started with today's build account, I wanted to let readers know about an interesting piece on a CBC Radio Canada podcast I was sent recently which is really worth a listen. Check out the following link for a story, about 1/3 of the way in, on French pastry makers and their efforts to do their best work, where they put everything on the line. A great and inspiring account I thought, with obvious parallels to Carpentry:
http://podcast.cbc.ca/mp3/
As far as the tsuitate construction goes, next up on the slate is to cut the join between the lower frame and the rail above it. The rail has already been dadoed for the panel (in the previous post), and now it is time to connect it to the support piece below.
Readers who have followed this blog for a while will be all too familiar with the method and processes I employ for making sliding dovetail joints, so I choose not to elaborate that in too much step-by-step detail this time.
Here's the lower frame piece with the three sliding key mortises roughed out:

A close-up of one of those mortises:

Once the dovetail is formed, I can check the fit with a key (I'm using Red Oak for the keys):

Into the drop-in mortise goes the key:

Then forward it goes:

Done:

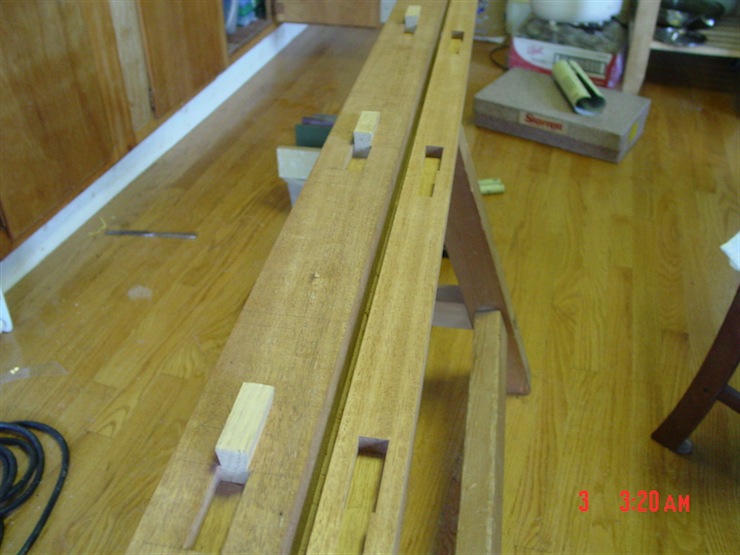
Here's the piece with the three keys now seated in their places, snug as piggies in a blanket:

Next step was much the same, this time processing the sliding dovetail mortises on the underside of the rail:

In this case, I skimmed a little material off the underside of the surface prior to cutting the dovetails, putting a subtle hollow into the piece along its length:

Here's the cross tie and the rail sitting side by side:
I've left the fit a bit tight at the moment and haven't made pieces up to block the movement of the keys on one half of the joint, so I won't do a trial assemble quite yet. I will also be skimming a little material off the upper surface of the cross tie, which will slightly ease the fit. Anyhow, here's the complete mortises side by side, ready for a meeting later on:

All for today. Thanks for dropping by. --> on to post 12
No comments:
Post a Comment
All comments are moderated. Spamming and comments containing links unrelated to blog content will be deleted.