--------
This morning I completed some sketches of the cast bronze leveler feet for both the side table and coffee table and sent them off to a foundry near Boston so as to get that process in gear. They will be cast oversize and will require machining work afterwards. I would love to tackle that work myself, however I lack an important item: a milling machine. So I'll farm it out to a local machinist.
I ordered some extremely tiny hollow chisel mortise bits from Japan this morning - 3mm and 5 mm. These will come in handy soon enough. They're on the delicate side when they get that small, however hopefully they'll suffice at least for this project.
Over at the shop, I finished off the work with the pillow blocks today, slotting them for the dust panels:

The corner blocks received an additional crosswise mortise:

A closer look:

The aprons are now mortised for the dabo - using just the hollow chisel mortiser and a 3/8" bit, marking the hole directly off of the pillow block assembly so there was no chance for misalignment:

Short 3/8" pins will be fitted to each location, and these will keep the pillow blocks in good alignment with the aprons and the as of yet un-fitted dust panels.
I crosscut, re-sawed, jointed and planed stock for the drawer - all perfect quartersawn material:

I have an extra drawer front and a panel which could replace either of the sides or the back if something went awry later in cut out. The two sticks under the drawer floor panel in the pic above are to be the drawer support rails, which have some funky joinery ahead.
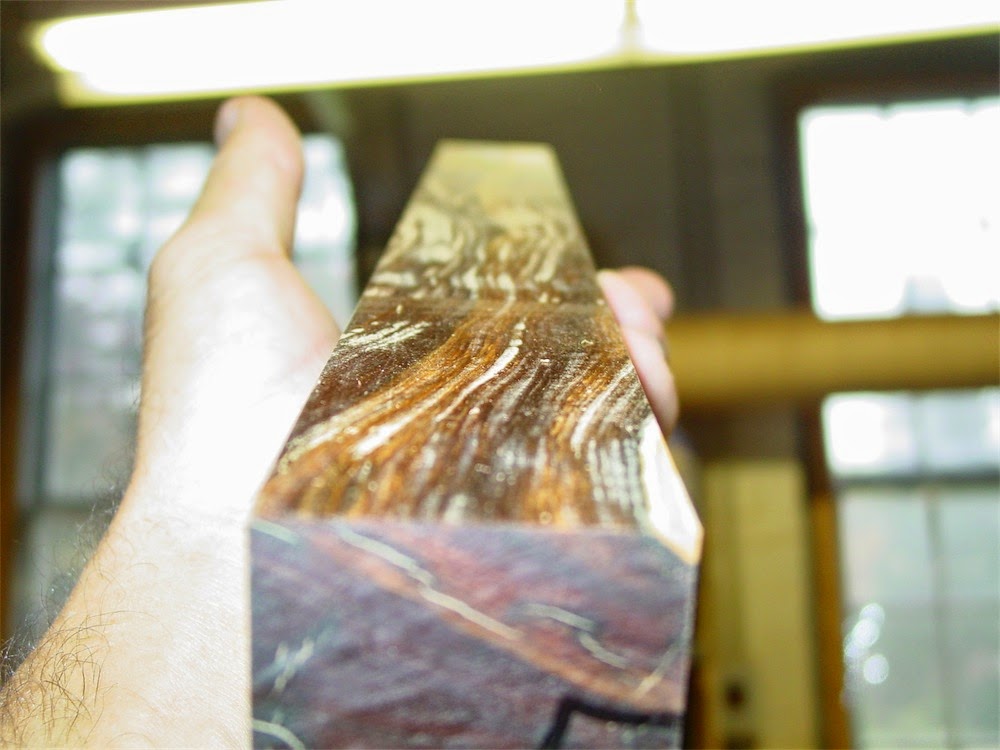
The lignum vitae runners were also rough cut:

These runners are generously oversize at this point.
Just for interest's sake, I thought I'd run the two pieces one pass through the super-surfacer, to see if the machine could handle one of the hardest and gnarliest interlocked woods in existence:

Again, no problem, and that's using the same knives which were used to surface a whole pile of bubinga several weeks back.
The finish was pretty good for lignum vitae, and no tear-out - I imagine with dead sharp knives that the rowed grain would come out a bit better yet:
Later on I did some work on the table top:


That enabled the top to be placed for the first time atop the frame assembly - yay! - though a bit of joinery work remains yet on the top:

Another view:

After a little more work on those table top fixing joints, I'll set the top to one side again and start working on fitting the side panels to the framework and getting the drawer components moved along. There is also the matter of the demountable rear panel, for which I have yet to process some stock.
Thanks for your visit to this obscure corner of the internet - I hope you enjoyed the read. On to post 25.
I am eager to try some of these joints. Very interesting to watch.
ReplyDeletePaul,
Deletehave at it! Thanks for your comment and glad you are enjoying the series.
~C
My head is huring less as I read about this nearing completion. I am amazed at the precision of the joinery and can't wait to see it done.
ReplyDeleteRalph,
DeleteI'm not sure the term 'nearing completion' is warranted quite yet, so buckle in. It will be at least another week, if not two.
~C
I think you use a mechanical pencil for most of your layout and I see some sort of black marker to identify your pieces? Does that ink come off or do you only mark where it won't be visible?
ReplyDelete-Mitchell
Mitchell,
Deletethanks for the questions. I use a Sharpie (felt-tipped marking pen) to ID parts and to mark areas to be cut, taking care to place the marking on areas where it won't be visible. It comes off with a swipe of the plane if need be.
~C