Here are some sketches of the side table design as it currently stands...
Front elevation:

I've made the bronze feet a little smaller, and tuck in the bottoms of the legs. I've changed the drawer design slightly to incorporate wedged through tenons front the sides instead of a wedged half sliding dovetail as previous.
In perspective:
.jpg)
A little closer look:
.jpg)
The dust panels between the pillow blocks now have a Chinese begonia motif.
Speaking of the pillow blocks, I've been working on the corner blocks, which are connected to one another with mitered half-laps.
Here are the pieces after profiling:
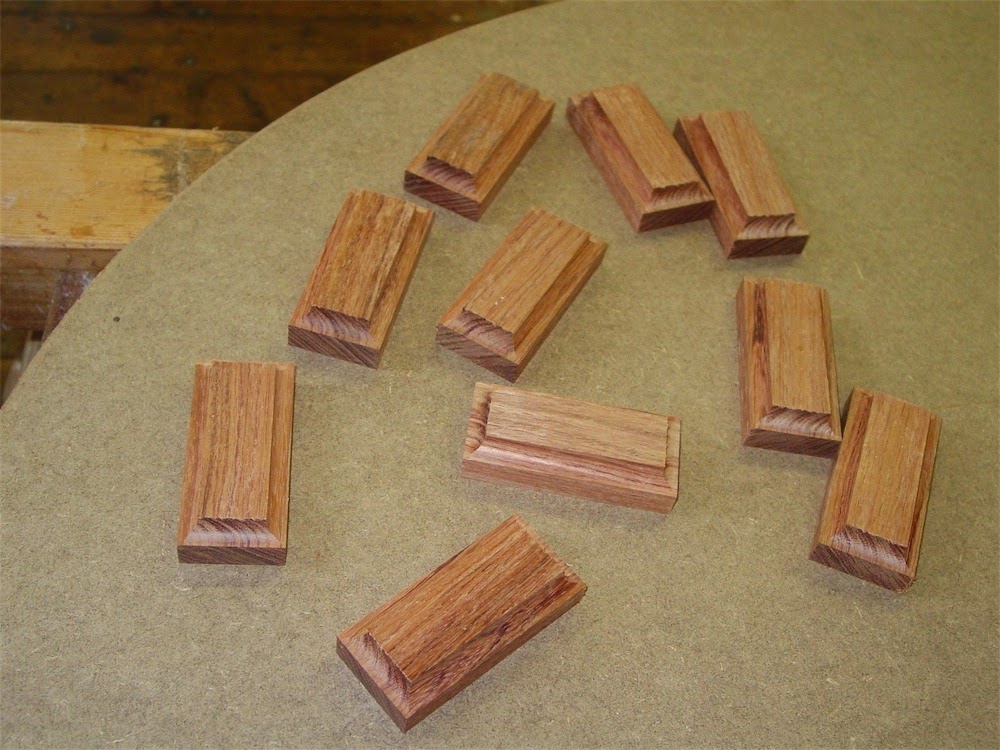
Then the sides are notched and the 45˚ abutments rough cut:

Then the half laps are rough cut:

The abutments are then trimmed to fit:

At this point only the mitered portions require trimming:

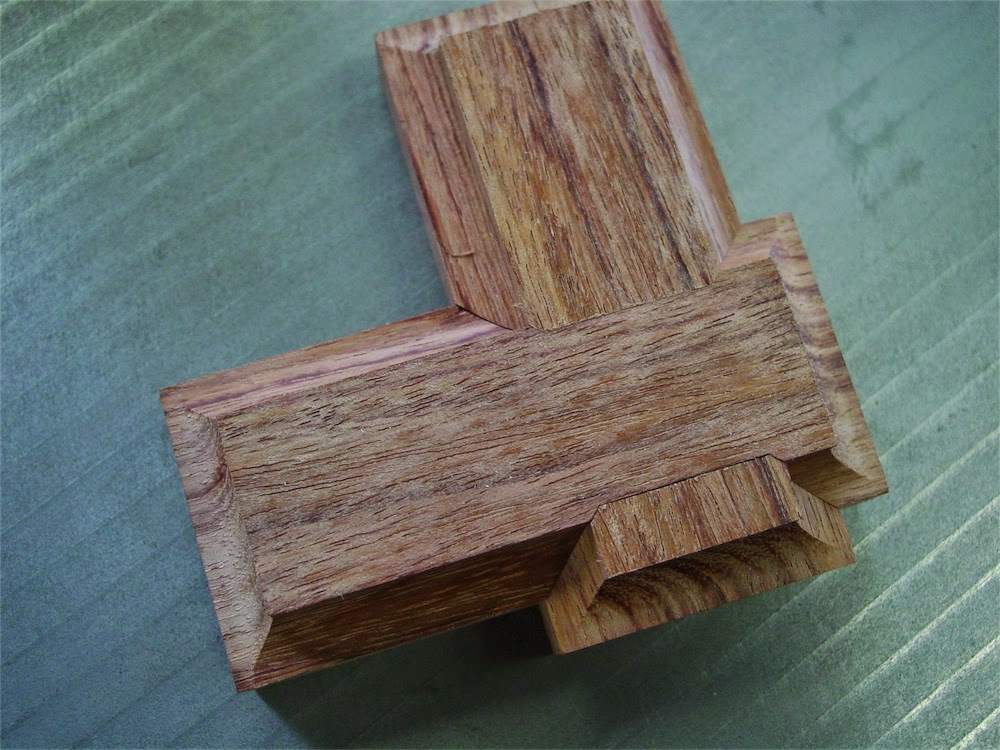
Time for a fitting:


Together:

This one has its inside miter slightly open, which is a drag, however that portion will be completely concealed inside the cabinet so I'm not worried about it.
The underside of the same corner:
Number 2 is done:


Number 3:


And number 4:


The only visible surfaces on all of these pillow blocks will be the side surfaces, so my main goal in fitting was to produce closed miters on all external surfaces. That the other surfaces came together tightly is an added bonus.
I actually made 5 pairs of corner blocks, so I have a spare which will be useful as a trial piece in the next steps.
The next step with these will be to mortise them for the post tenons and the dabo. That will be tackled tomorrow at the shop. For now, I thought I'd park them on top of their future home, the apron, extra set in the middle:

All for today, thank you for dropping by the Carpentry Way. Ready for more?: Post 23 awaits
Chris, I see the groove to attach the pillow blocks to the base frame, but, how are the pillow blocks attached to the top?
ReplyDeleteJoe,
ReplyDeletethanks for the question. If I might be a bit opaque in my response, I will answer with: all will be revealed in good time.
~C