Last time, I had completed* the mitered returns on the short side aprons, and was about to proceed with the long sides when it got dark. It was a glorious sunny day today and the light was ideal this morning in the shop. First order of business on the long aprons was to plane their top edges down slightly. When I had fitted the aprons together at the corner joints, I had taken some measurements at the corners from the short side apron tops, which are supposed to be 0.25" above the long sides. Measurements showed, as I had hoped, that a little fine tuning was in order - I had to plane down anywhere from 0.01"~0.02" off the top edges of the long aprons.
That was an enjoyable planing session, starting off well:

And getting even better as it went along:
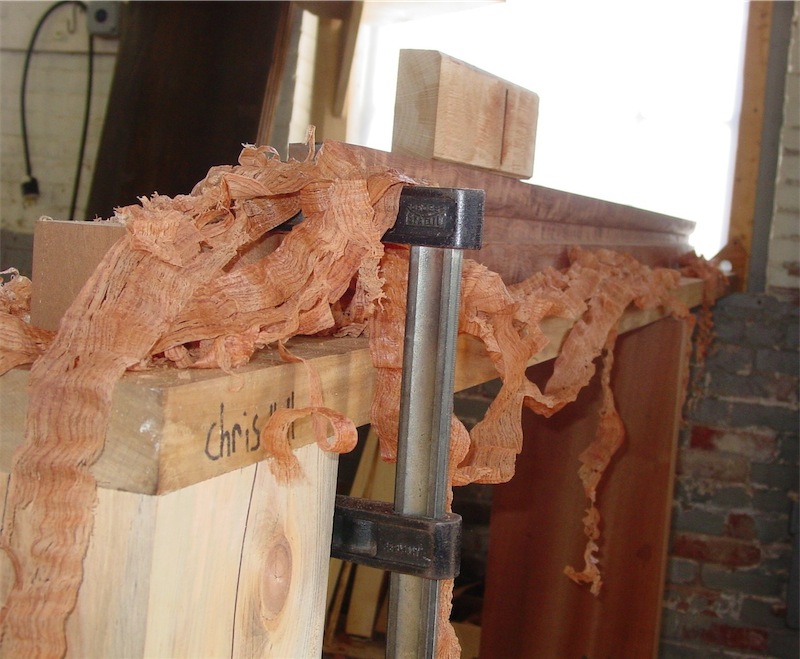
As I planed along, I checked frequently with a Mitutoyo try square to ensure that the top edge was square and flat:

The two long rails now are cleaned up and to dimension on their upper surfaces:

Next, I worked the relieved rear section of the long aprons, where I first used the scraping plane to dress down the rough bandsaw cuts I had completed a few posts back:

Maybe I'm just not used to it, but I find it far more physically demanding to push one of these western planes along instead of pulling a Japanese plane. After the scraping, I sharpened up my 60˚ plane again and completed the clean up. I had previously used the router to cut down to the target depth, well, to 0.005" over dimension in truth, at the locations of the batten mortises on the long rails, and here you can see how I'm getting almost to that surface in the planing work, the pencilled centerline being a shaving or two from erasure:

Then with the long aprons ready to use, I processed the 45˚ housings on them for the 3-way mitered tips (yet to be formed on the legs), and then I changed set up a bit and cut out the grooves in these mitered abutments, about 1/8" wide and deep:

The target was 0.1250" for depth, and the results were close to that:

On another slot it was a hair deeper:

Here's the end of one of those aprons through another stage in the cut out:

Next up: the legs will have a pair of tenons on them as part of their overall joinery mix, and I set to work doing the mortising on the ends of the aprons. The hollow chisel mortiser lept into action once again:

The completed through mortise needs only some minor chisel work to be complete:

A pair of aprons with the mortising done:

As they day was drawing to a close, I was able to make a start on the joinery which is placed along the top edges of the long aprons. These will have male dovetail tenons spaced about every 7.5". First step was to rout out to the required depth of 0.25":

Another view:

Tomorrow I should be able to complete the work on those top edges and then deal with the mortising work yet required for the battens. Hope you'll swing by again to check that out. All for today, thanks for coming by. --> on to post 25
G'Day Chris,
ReplyDeleteWell it is an incredible treat to see this complex table taking shape. I am interested to know how you protect those faces that are finish planed, before assembly. Do you wrap them in paper as per carpentry practice, or is it just incredible care and attention during handling?
Warm regards
Derek
Hi Derek,
ReplyDeletenice to hear from you! I protect the faces by simply being extremely careful in my handling of the pieces. Nothing has gone to finish plane/scrape stage yet mind you. When I deliver the table, it will be well protected.
~Chris